Adalo makes it easy to send in-app notifications to users but when it comes to sending emails it’s conspicuously deficient. There’s currently no way to natively send an email based on activity within the app.
I’m going to show you today three different approaches for solving this problem, all of which rely upon external systems for sending the email. We’ll look at the pro’s and con’s of each approach and then do a video tutorial that shows how to set it up in each scenario. When we’re finished you’ll have all the information necessary to pick the most appropriate method for circumstances and solve email delivery from within your Adalo app.
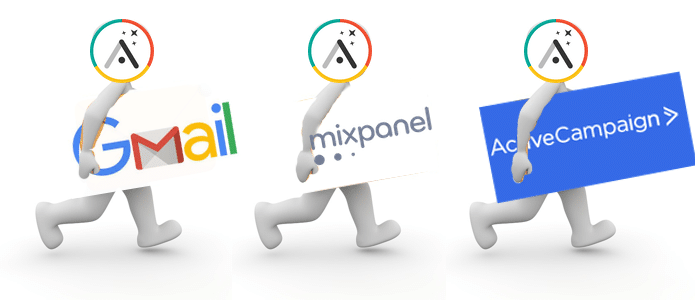
The pro’s and con’s of each method
While Adalo doesn’t natively have the ability to send email it does enable different approaches via middleware and its integration with MixPanel. Given the use of middleware there are infinite ways to connect to external systems but I’m going to show you three approaches using Gmail, MixPanel and ActiveCampaign for sending email. Let’s explore each one:
Gmail
Using middleware like Zapier or Integromat it’s possible to invoke an external system like Gmail to send the message.
When to use this approach: If you’re just seeking to send a single email immediately to a user this is likely your best choice.
PROS: It’s free, it’s fast and it will originate from your Gmail account so it should have the same deliverability as a message you would send from Gmail.
CONS: It’s a “dumb” send in that there’s no sophistication of wait timers or conditionals and there’s no unsubscribe link so if your users decide to hit the spam button it’s going to diminish the deliverability of your main email address. You can address this by using an alias with a different sending domain but this is something you should be aware of.
How to set it up:
MixPanel
When to use this approach: This is a good method to use if you’re already making use of MixPanel for your app’s analytics and therefore have key events for your app defined in MixPanel.
PROS: Free up to 1000 tracked users. Their pricing here. MixPanel is a powerful tool for event-based tracking and gives you the ability to analyze funnels, do cohort analysis for retention and slice & dice on any property you’re tracking. Their customer journeys and messaging features allow you to send emails that are triggered when conditions you specify are met. You can build complex sequences that send your users relevant communications based off what they have or haven’t done in your app.
CONS: The customer journeys feature is still in beta and has some quirks to it. The way Adalo passes event data to MixPanel is unintuitive and means you need to write custom formulas to interpret the raw events and do anything useful with them. It’s a bit like sipping through a straw in that you only have access to event data tracked in MixPanel and therefore can’t use data from Adalo collections in your emails.
How to set it up:
ActiveCampaign
When to use this approach: Use if you’re seeking to have an external CRM outside of Adalo tracking your users and automating communications.
PROS: ActiveCampaign is a full CRM with a powerful visual editor for building automations and workflows. Contacts can store data in tags or custom fields and this info can be used to trigger automated messaging, SMS, site messages and anything you can do with a webhook post request.
CONS: Not free. ActiveCampaign pricing here. You end up duplicating contact data outside of Adalo which can lead to data inconsistency and the overhead associated with keeping data in sync.
How to set it up:
Other considerations
We could have used the Custom Actions feature in Adalo to trigger the middleware via web hook and there can be times when that’s desirable. I chose decidedly not to use that approach in this scenario because it would yield a more brittle solution given that we sometimes manually add event attendees via the backend Adalo interface and keying off of a button press in the app would mean the emails would not send in that scenario. In general it’s a good idea to craft your solution in a way that is most resilient in the face of variance and by keying things off the Zapier “new record” trigger it becomes irrelevant how that record got there (whether it came via self-signup in the app or manually via our intervention in the admin).
I didn’t show the Sendgrid approach for sending email because it requires a $100/mo subscription to their PRO plan in order to make it work with Zapier. You could use custom actions in Adalo to call their API directly and do either a single send or initiate a full marketing campaign sequence. This would be yet a fourth way to send email from Adalo but I didn’t go down that rabbit hole for this post.
Conclusion
You now have three different approaches for sending email from within Adalo and can choose the most appropriate method given your circumstances. If you have any questions on the techniques shown above please leave a comment below. If you’d like to receive an occasional email from me teaching methods like these sign up for my email list below. cheers
